Litic | Analyse your web project and get insights about SEO, accessibility, security, and best practices


Hi 👋🏼 My name is Raúl López. For the past 5 years, I've been closely working with one of the fastest-growing SEO agencies in the Canary Islands, providing them with developing services to create beautifully crafted websites using web technologies. I am now a full-time freelancer, hoping to help out other developers thanks to this hackathon :-)
What is Litic?
I have worked on tons of web projects, and there are too many things you need to keep in mind when creating a web project: speed optimization, security, accessibility, best practices, SEO... In fact, this is what my blog is about!
Therefore, I thought that many of the things that we, developers, need to check when creating a website can be easily automated, so these past days I've been working on Litic, a JavaScript library to perform multiple analysis to a website.
Wait... What about Lighthouse?
Google Lighthouse is such a great tool to quickly find possible issues on your website. However, my experience wanted to add a few more things, as well as making it super easy to execute locally.
Why should you use Litic over Lighthouse?
Lighthouse is super great. In fact, many Litic tests are run through Lighthouse, but its focus is mostly on measuring performance and accessibility. Litic will also provide more tests, like search intent matching, protection against Clickjacking or MIME Sniffing, HTML minification, HSTS, resource caching and other server information.
What value does Litic provide?
As of today, Litic includes 45 different tests, although I've made a huge list of more factors to include:
- Analyze a list of URLs from Excel: this will help both developers and the SEO team to automate testing through multiple URLs (certain blog posts, landing pages, contact page...)
- Thin content detection through crawling
- Content recommendations
- Comparison against competitors
- OCSP Stapling
- Spam records
- Analytics detection
- Sitemap validation
- Schemas and Rich Snippets
- AMP validation
- And much more!
How did I develop Litic?
I've always thought about a way of testing all these things we need to test before deploying to production with ease, but I've never felt comfortable with any tool.
When I saw that Hashnode and Vercel announced this hackathon, I thought it may be an excellent time to start developing Litic.
I wanted it to have an installable library so that developers could use it from the command line, but also have a web interface to test it and provide more value. So, from here, we would split the application into three different parts.
Core: developing the library
I decided to use NodeJS, because of its speed and its integration with Google Lighthouse. Also, Puppeteer makes it really easy to perform web scraping, while also working with SPAs!
So I started a new Typescript project and created the basic structure of the application:
- Headless Browser
- Lighthouse Service
- Test Suite
- Test
Once these parts were defined, I had to choose which tests I wanted to include in this preliminary version and implement them by extending the Test class.
The API
I love Laravel and I also love JavaScript, but since Litic is developed using NodeJS, I thought it would fit best to use Express and use the library from there.
I created an endpoint: /invoke, which would validate the request and return the analysis result.
I chose to deploy the API on Heroku, since I've worked with them for other projects and the experience was pretty good 🥳.
The web interface
As I said before, I love JS. In fact, I love AlpineJS, VueJS, and Angular. I decided to use VueJS since I think it's faster to develop than Angular.
Usually, I set up my own pipeline using my own server, but this time - after reading tons of tweets talking about Vercel - I wanted to try Vercel. I must admit I am super happy with the experience: it was a breeze to have the project running with a continuous integration pipeline. Cheers! 🤩
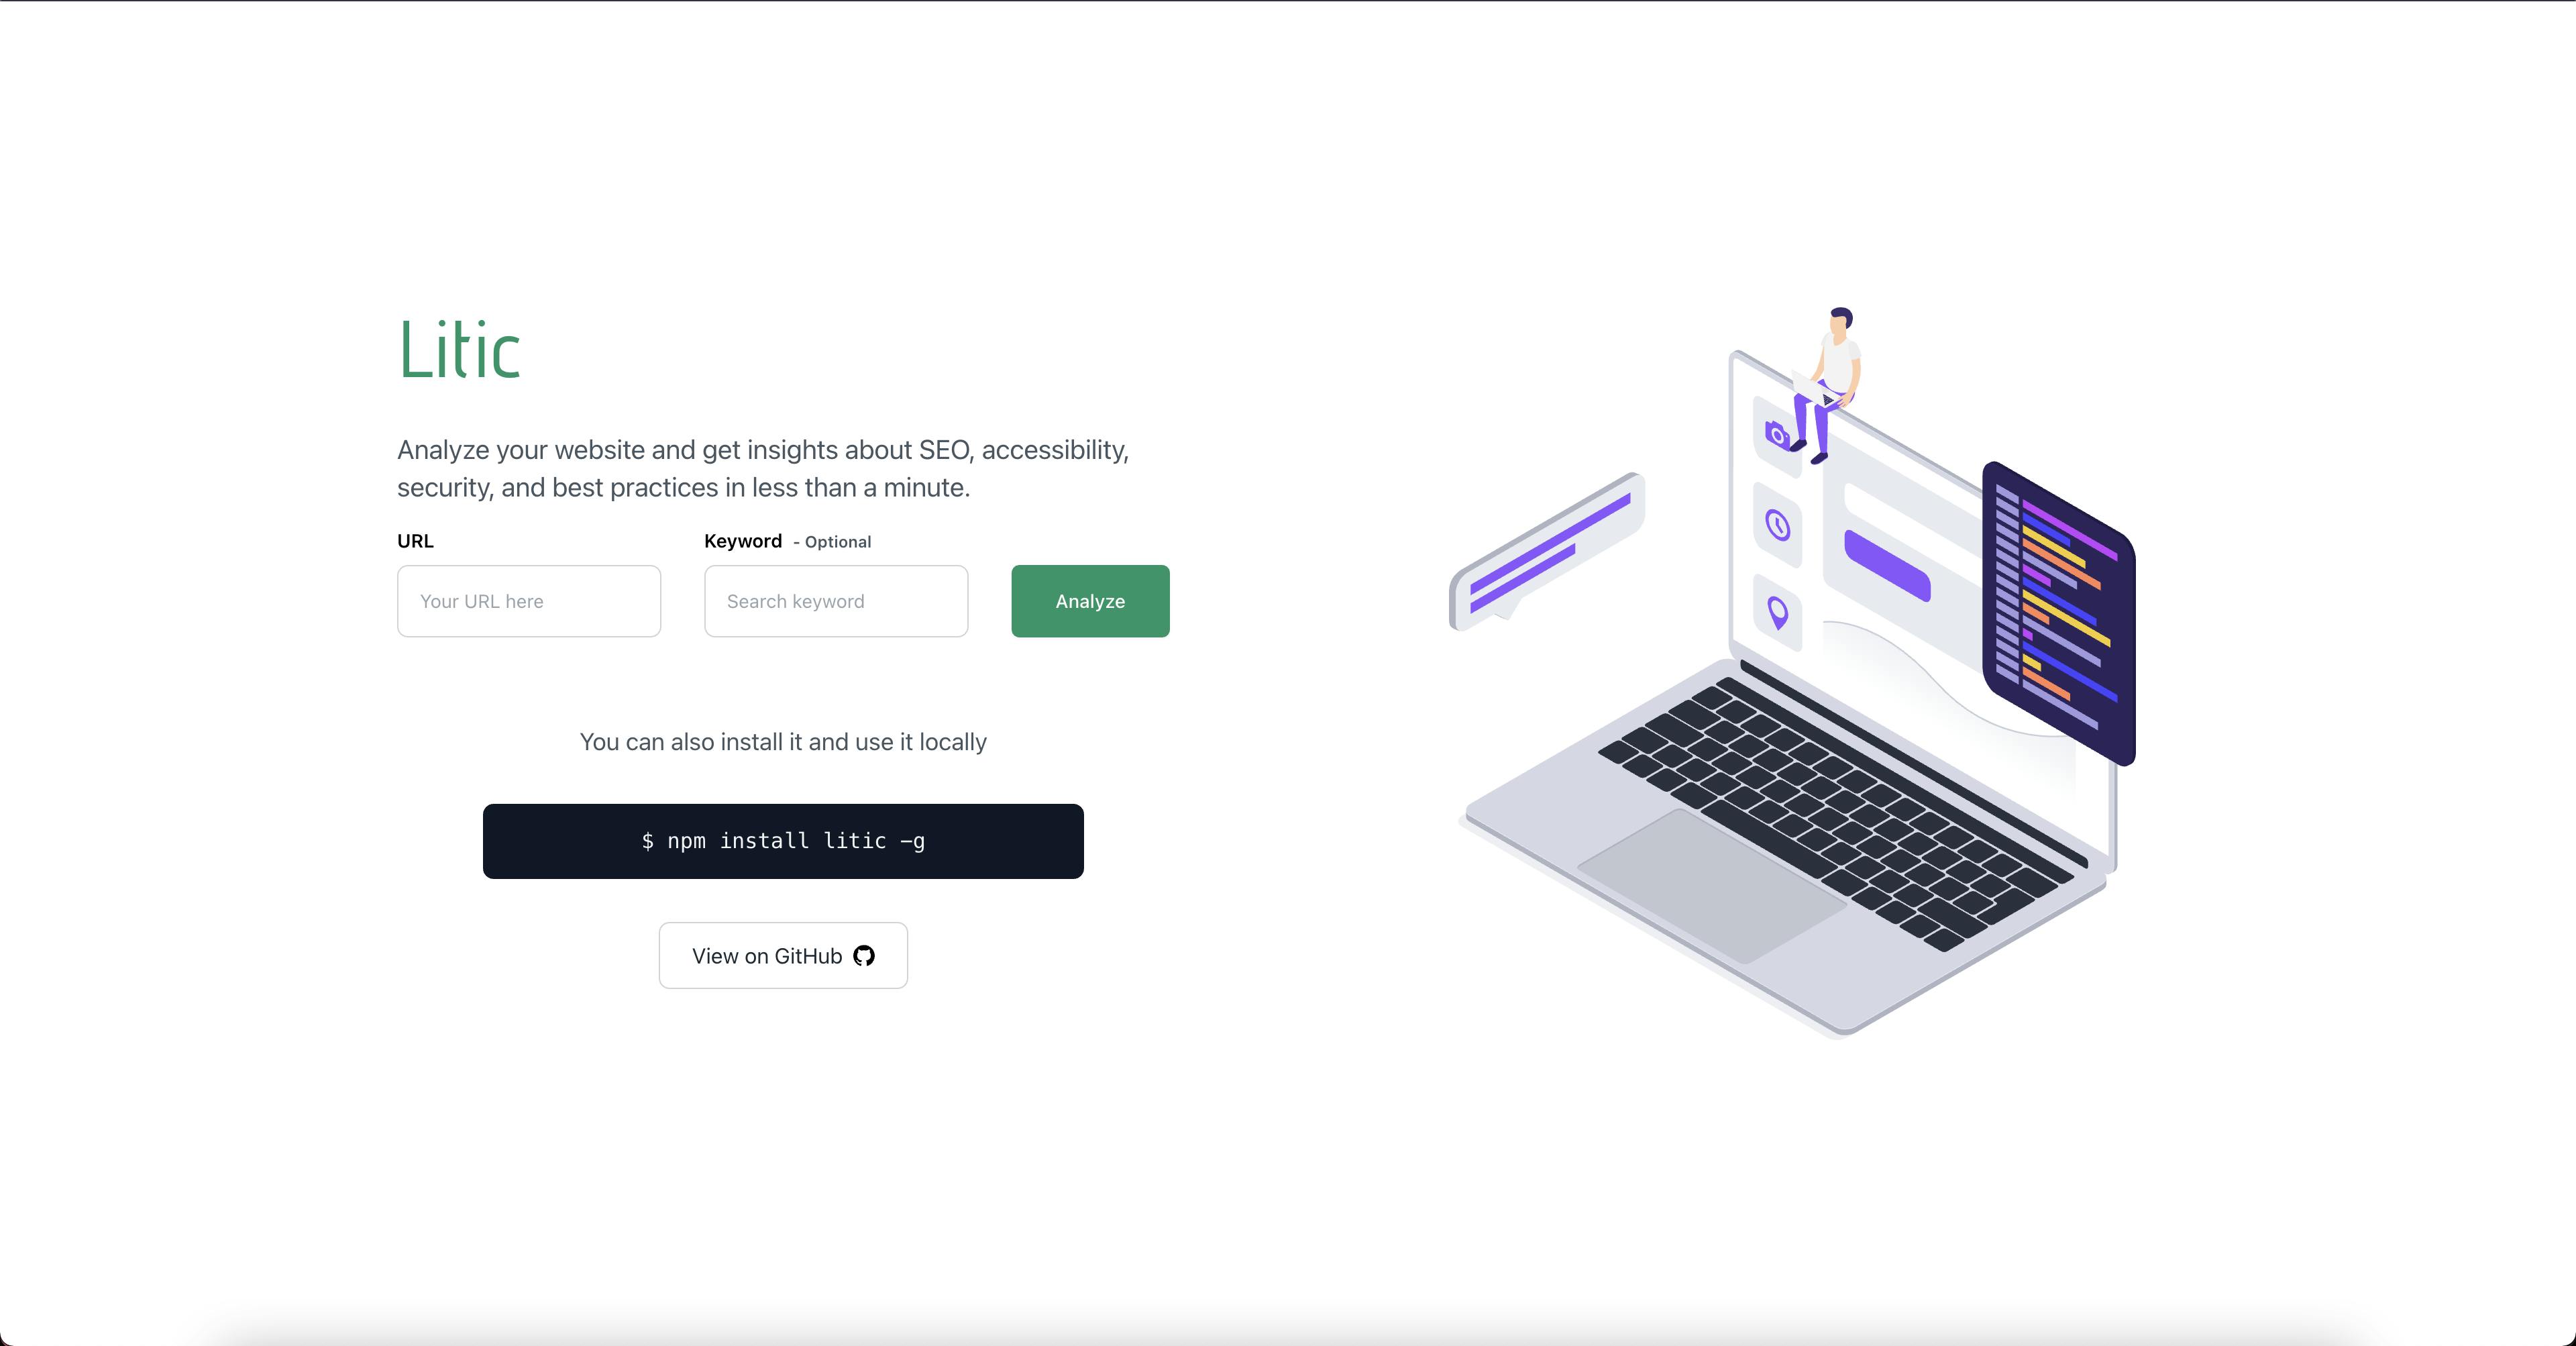
The website links to the Litic library on GitHub and also provides a way to test your website in real-time using the API.
Challenges
It's almost a rule. Every new side project will always come with challenges you don't expect! 🤯
First of all, I am pretty familiar with all these optimization and SEO concepts, but the core library was a challenge because it was my first project using typescript without any framework. Typescript rules 🔥
Then, after the library was created, the API was pretty simple to create. Once deployed to Heroku, I found that the request failed ~50% of the times because of two reasons:
- Heroku free plan puts their Dynos to sleep after some inactivity time
- The most important one: Lighthouse + Puppeteer is memory intensive, so the 512MB offered by Heroku wasn't sometimes enough, and the Lighthouse analysis would fail after a few seconds.
Therefore, after a thorough investigation, I found that Google offers a PageSpeed Insights API. Connecting to this API would move the resource consumption from Heroku to Google, so I decided to optionally perform the analysis through the API if the PAGESPEED_TOKEN environment variable exists.
After this implementation, the Heroku API works like a breeze!
I would love to say a challenge from the Front End, but honestly, Vercel made it super easy to do everything from the beginning: I downloaded a template with everything set up and then connected Vercel to my GitHub. And that's it!
Installing Litic
Litic can be installed locally by running the following command:
$ npm install litic -g
After the installation, you will be able to use Litic through the command line with the litic command.
How to use Litic
Once the installation is completed, you can run an analysis with the following command:
$ litic -u "https://learn.techseoblog.com/"
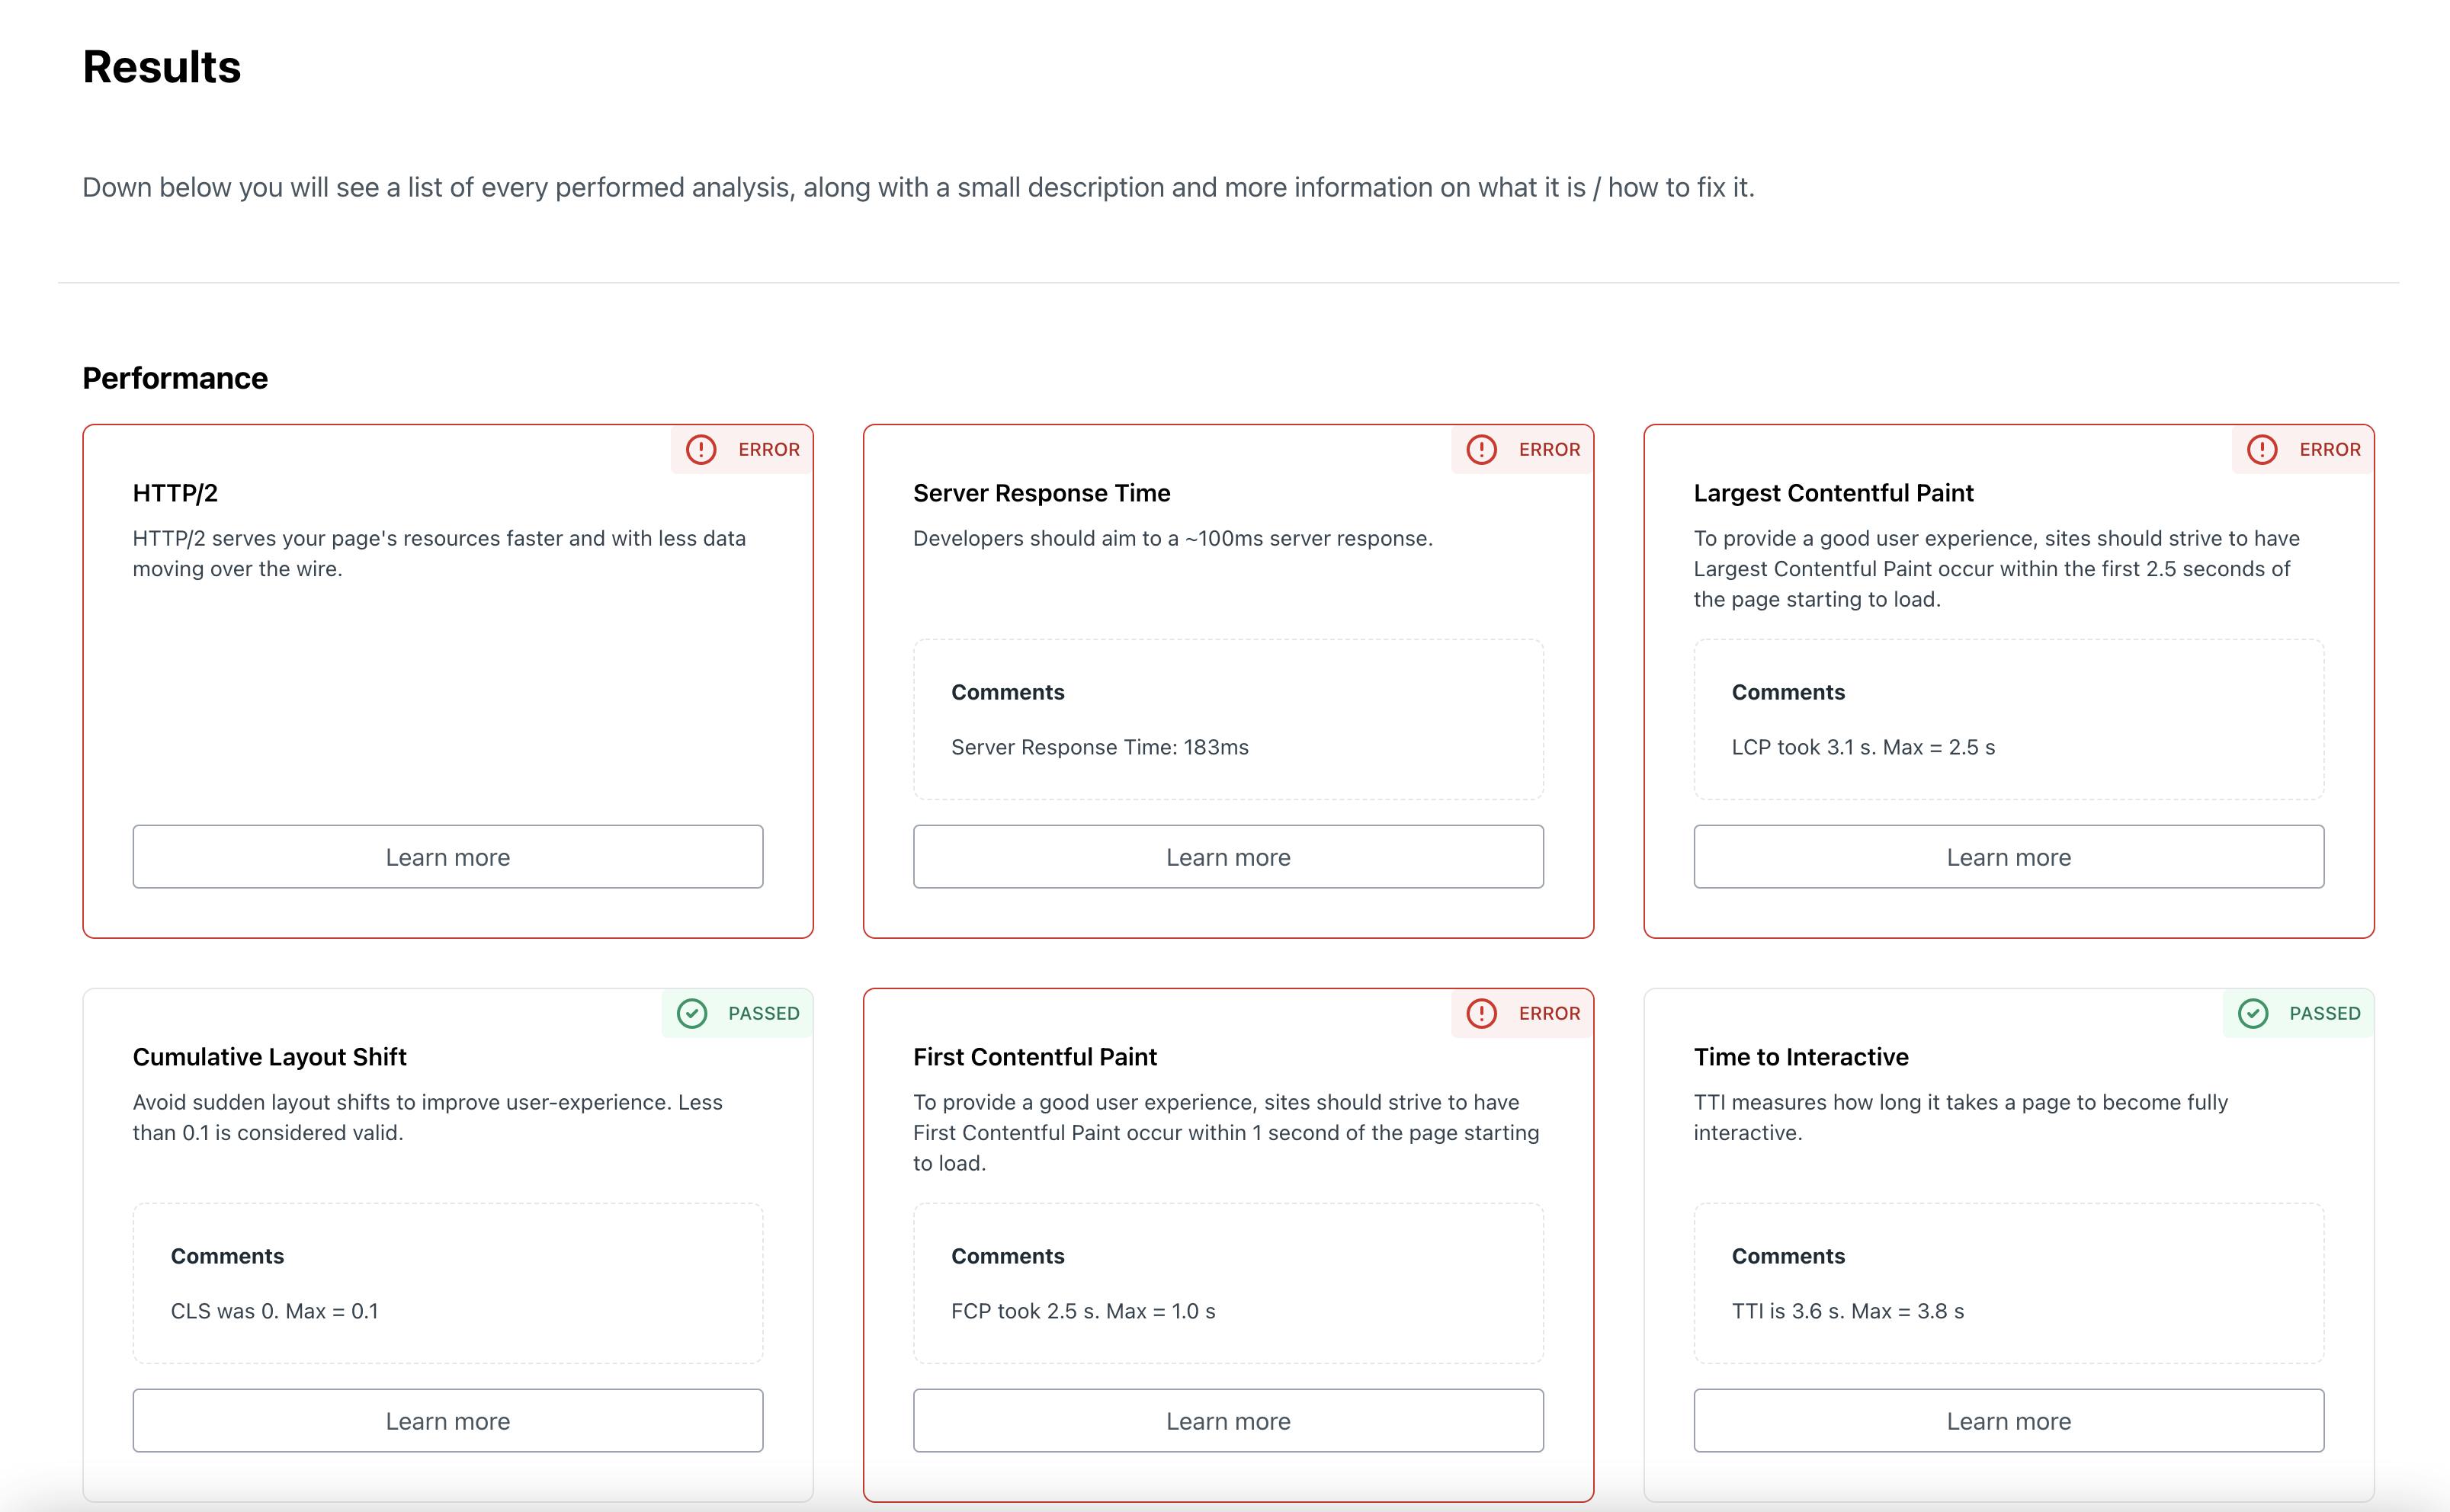
This command will perform the analysis and dump a table with the results right in your console:

Along with almost every test, you also have a link with more information about the test and how to improve your results.
You can also dump your results to a CSV file with the -o parameter:
$ litic -u "https://learn.techseoblog.com/" -o report.csv
This command will save the analysis result in report.csv. The main difference is that this file will also have a description of why this error is important or what does it imply for users or SEO.
Furthermore, I connected to BERT Calculator API to run an additional analysis of how well your URL answers a certain search intent. We can add this test with:
$ litic -u "https://learn.techseoblog.com/" -k "learn technical seo"
Using the -k parameter, we can provide a keyword to perform the content analysis against. This will result in a number from 0 to 100, being 100 a super-well optimized content for the provided keyword.
You can get a list of the available options with:
$ litic --help
Environment Variables
Additionally, you can use two different environment variables to modify the analysis behavior:
PAGESPEED_TOKEN: Token from PageSpeed Insights to run the Lighthouse analysis remotely instead of on your own computer. Useful for low-resource environments.SD_KEY: I also connected this library to Silver Diamond, one of my favorite side projects, to provide some intelligence for certain tests. New services for Silver Diamond may involve a new test for Litic 💎. Of course, this is a completely optional behavior and the most important tests will not require this API.
Online demo
You can test Litic using our website: litic.techseo.blog
The code
You can check out the code of every part of the application here:
- Litic Core: github.com/RuliLG/Litic
- Front End: github.com/RuliLG/Litic-Web
- API: github.com/RuliLG/Litic-API
Contact
Thank you for reading the complete post 🤩 In case you have any questions or just want to have a nice chat, you can email me at hi@raullg.com. Also, I can give test credits for Silver Diamond so you can test it on Litic without any problem :-)
Cheers! 😁